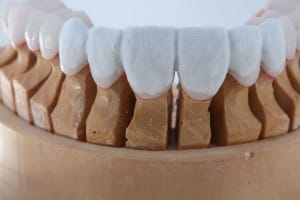
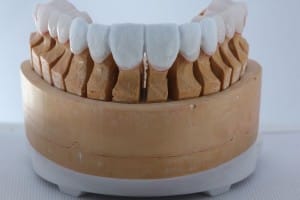
 We’ve put together a comprehensive checklist for sending a successful smile design case to Gold Dust Dental Lab. If followed accurately, this can ensure the most efficient outcome for working with the lab. High quality results are all about the best preparation.
Initial Smile Design Preparation Materials
To start with, put together the face bow transfer, stick bite, bite registration, and incisal edge index. These are a great jumping off point for a really strong smile design case. They guarantee that the finished product will fit comfortably and precisely for the patient.
Impressions – Think Like a Lab
The next step when putting together your smile design case is to include some high quality polyvinyl, pre-op, and provisional impressions. These are necessary for a satisfactory aesthetic result, which will be supported by the top dental materials used at Gold Dust.
Photography of the Case
 A well-rounded smile design case includes a variety of different angles of photographs that assist the laboratory. Gold Dust takes advantage of digital technology that can be best supported by full face, smile, retracted open, retracted closed, prep shade with shade tab (tab # showing) photo, profile at resting, stick bite full face, temp full face, temp retracted, and face bow full face.
This may sound like a lot, but it really is the best way to create a smoothly operating relationship with the lab.
Putting it all Together
The final piece of the smile design puzzle is to round everything off with the most important checklist item: the patient and doctor instructions. Check out our Aesthetic Prescription form, as it’s the best way to communicate your goals, materials selection, finish, and additional information all in one place.
Check out more lab tips on the blog, from dealing with the challenges of impressioning to using the diagnostic wax up kit to ensure predictability in your cases.


