

 At Gold Dust Dental lab, we utilize the Diagnostic Wax Up Kit as a case and treatment planning tool in our Smile Design to provide predictability in your cases:
- Design occlusal schemes based on number of dental restorations and work out functional movements and guidance.
- Ensure adequate reduction in the three planes facial, occlusal and lingual for adequate material thickness.
- Test drive aesthetics in the subjective aspects of Smile Design and Full Mouth Rehabilitations including contour, embrasures design, line angles, incisal shape for final patient approval.
- Make your preparation appointment seamless.
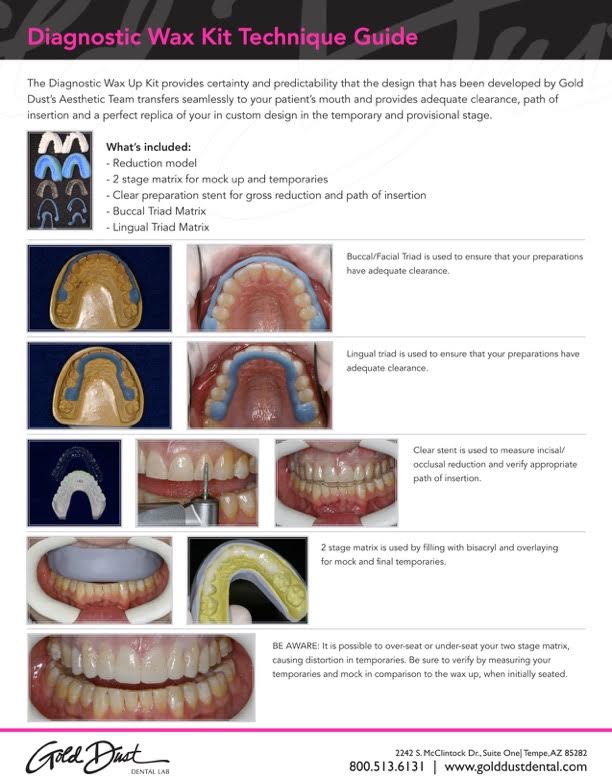
The kit is made up of these primary components:
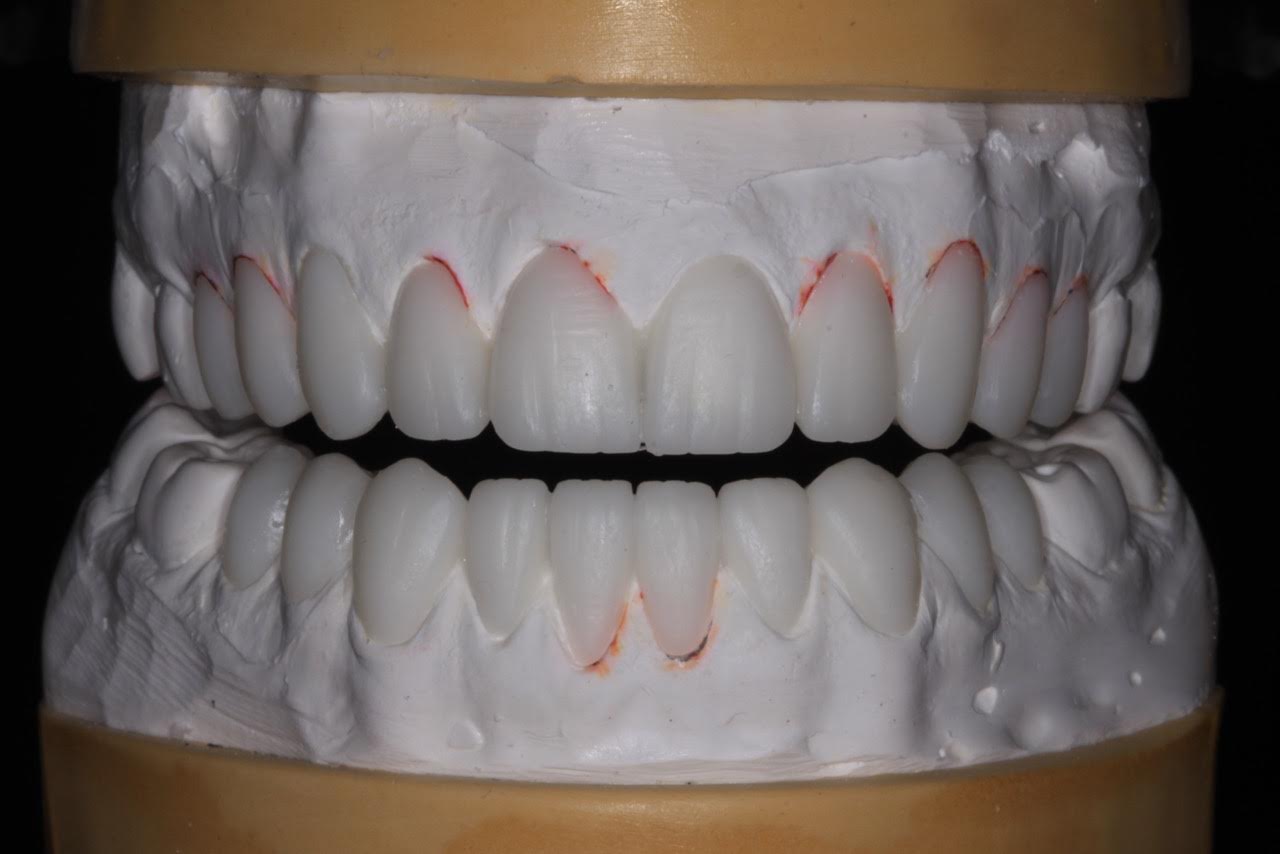
- Prep model. This white stone model is most commonly shipped inside the clear suck down guide. The white stone is marked with black where reduction is needed. This gives the doctor a visual on the need for gross reduction, where to prepare first and can help the dentist visualize the first steps in preparation.
- Clear suck down. This tray is meant to fit passively seat over the reductions. Since it is a see through, you can idealize your reduction so when you fit the clear tray over the preps there is no impingement. This will be your check for adequate gross reduction. This also allows you to mimic path of insertion to insure adequate draw.
- Facial/Lingual triad guide seats on posterior teeth so that the dentist can measure appropriate reduction for the material being prescribed. Without adequate reduction a series of challenges will appear in the final restorations, including poor aesthetics, a potential for show through of the preps, compromise in strength and can change the occlusal relationship. Verifying adequate reduction is CRUCIAL to receive ideal results and temporaries that intimately translate from the wax up.
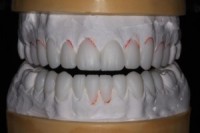
- Two stage matrix. This is a rigid copy of your diagnostic wax up that serves two purposes – 1) to be seated over your patients natural dentition and used with depth cutting burs. This is another tool in ensuring uniform reduction in all planes. By prepping right through the bisacryl seated creates a preparation design that is dictated by the wax up. 2) it is also your template for your final provisional restorations. The most common error we see, is clinicians either over-seating or under-seating the matrix which is easy to do. To avoid overseating, do not have the patient bite against the guide. Simply mark the midline, fill the two stage with bisacryl material and firmly seat with your thumbs against the posterior teeth. To avoid underseating, avoid injecting too much bisacryl material that will flow over to unprepped teeth and will keep the matrix from fully seating. To verify BEFORE you begin clean up on your temps, just simply compare measurements from diagnostic wax up on stone model and in the mouth. This way if you see a significant discrepancy (.25mm or more), you can remove temps easily and start the process over.
If you have had challenges or would like additional guidance, our Account Specialists Pete and Luke are available to guide you through a most successful smile design preparation. Call 800.513.6131 today.
For a quick visual reference guide that can be used in your operatory, click here to download and print.
For a checklist of ideal records for a rockin’ diagnostic wax up, click here and print.
One Response to "Step-By-Step Use Of Diagnostic Wax Up Kit"