


by Dr. Lee Ann Brady
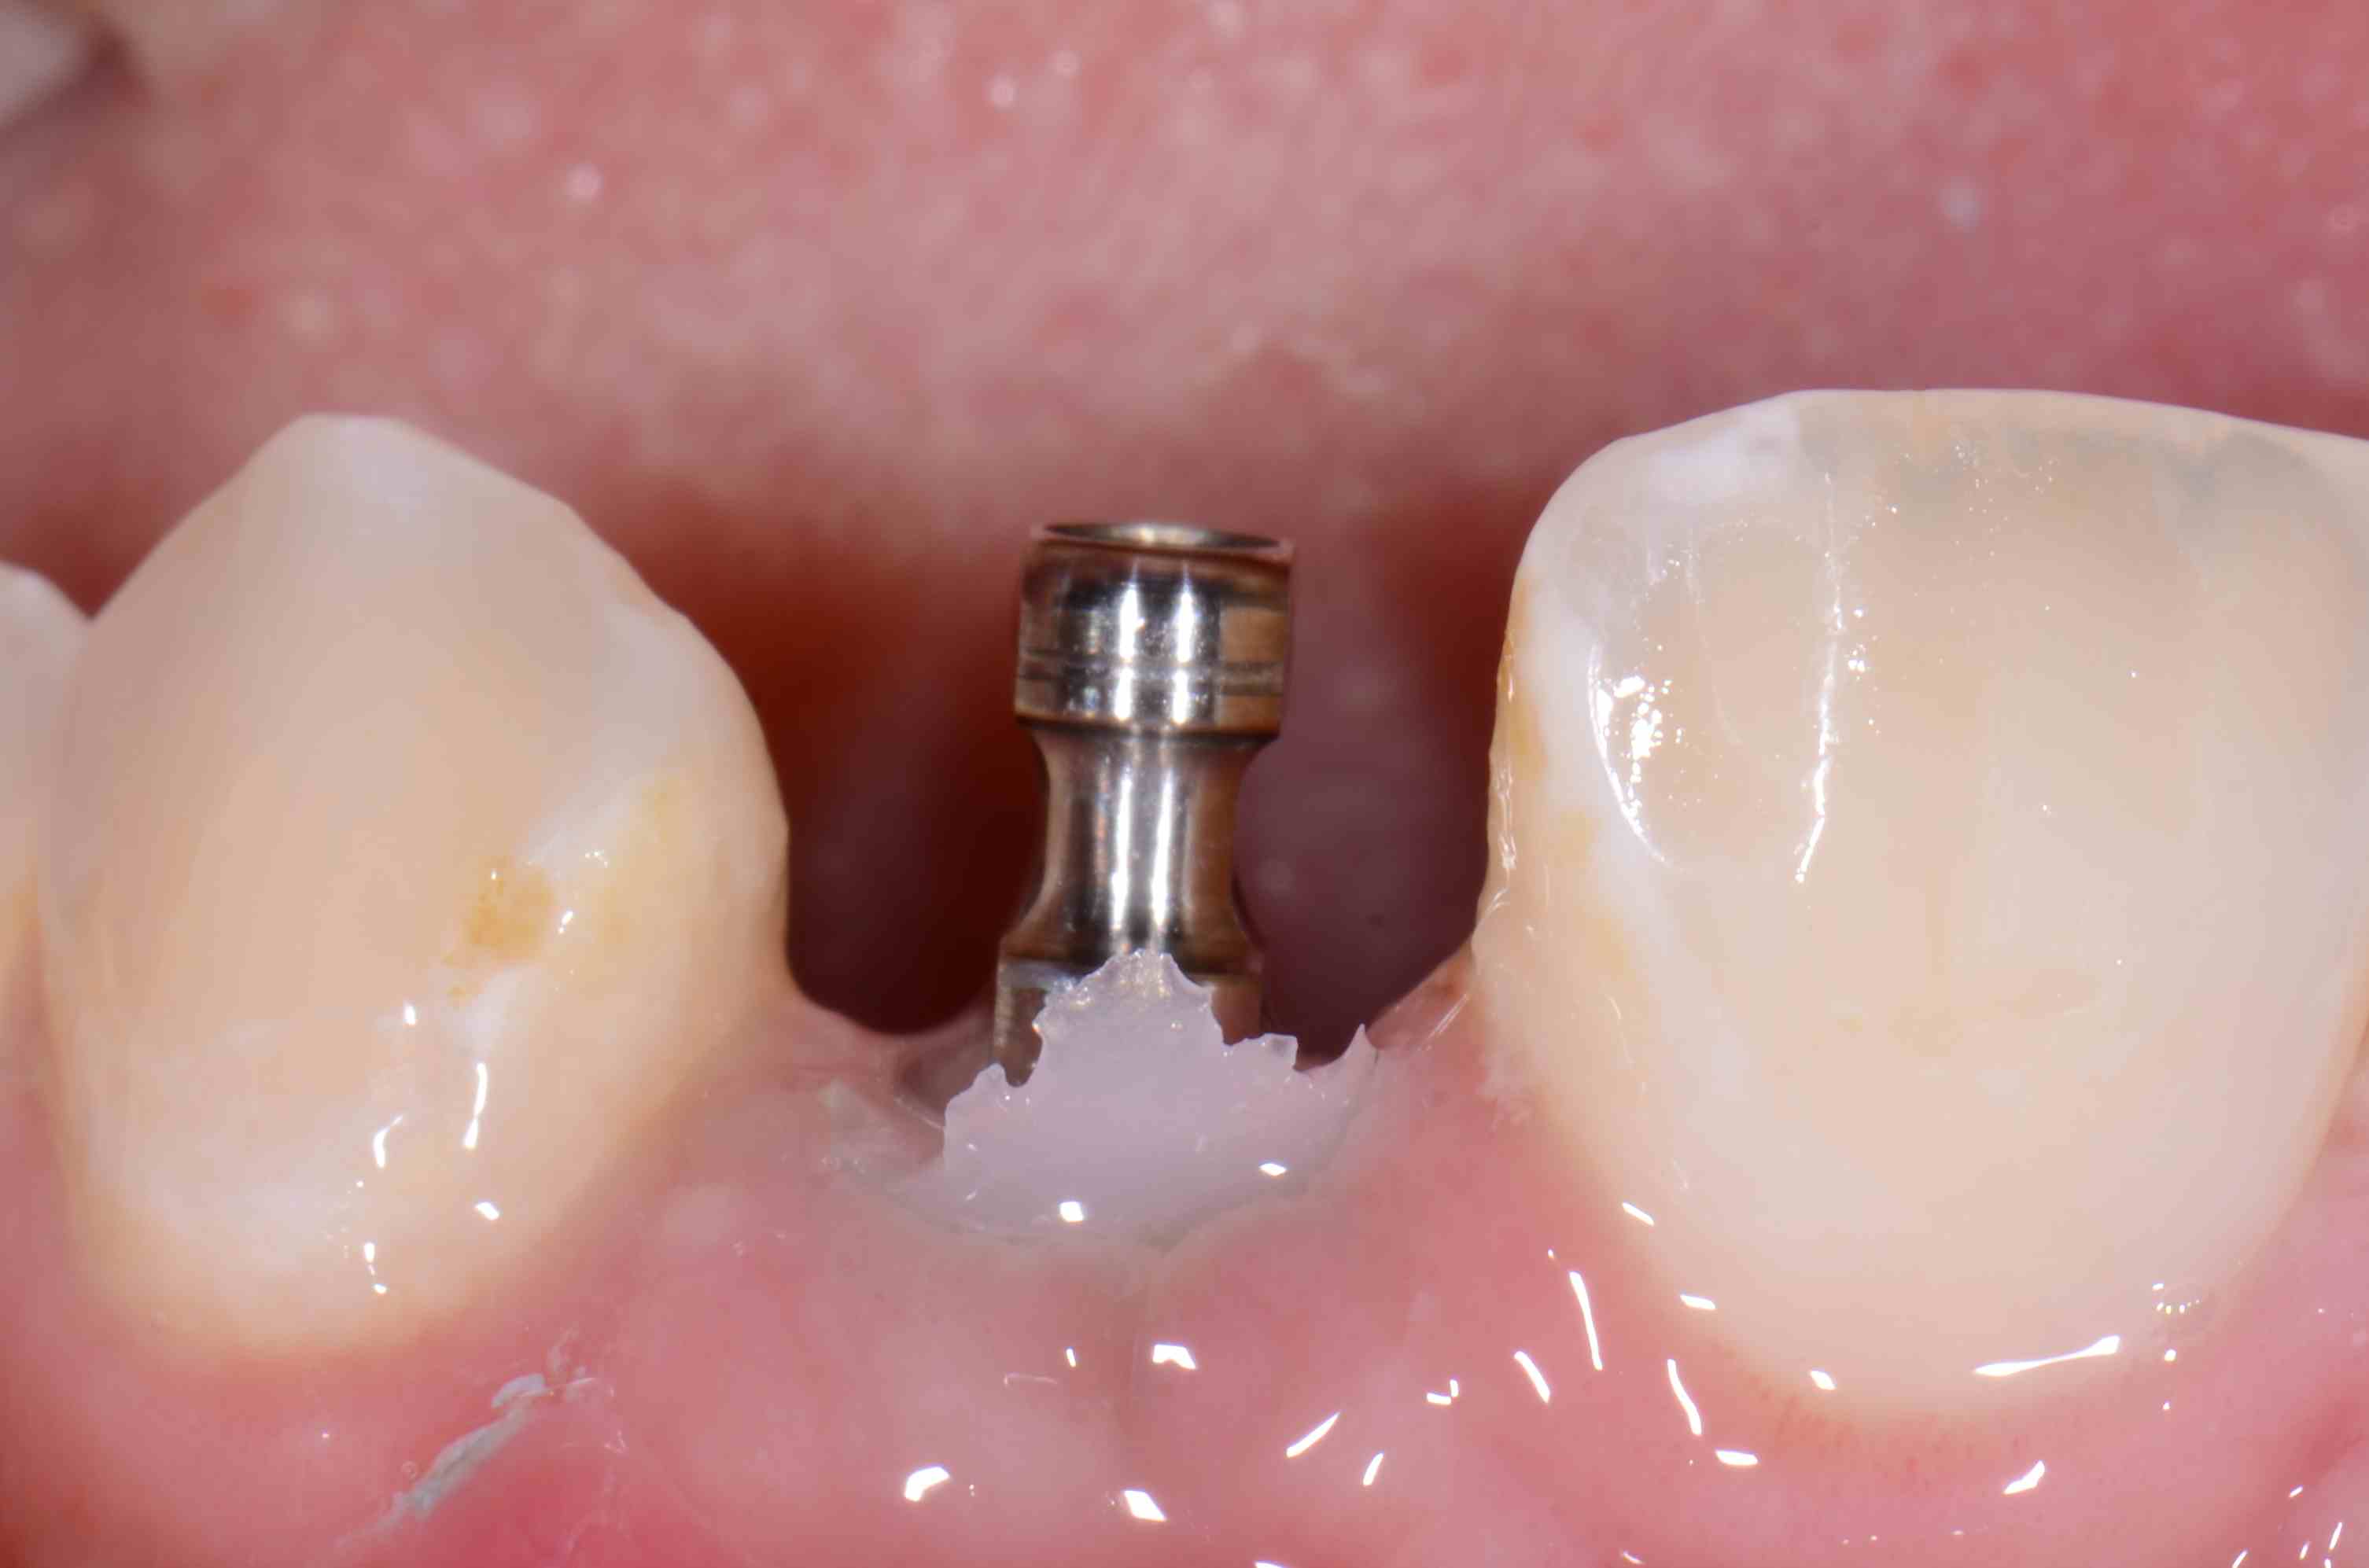
Custom anterior implant provisionals allow us to alter the emergence profile of the abutment from the top of the fixture to the free gingival margin so we can optimize the pink esthetics during tissue maturation.
Once this process is accomplished it is imperative to capture this shape so that the lab has a soft tissue model that is identical on which to copy the emergence profile of the final abutment/crown. The instant you unscrew the temporary restoration/abutment the tissue shape begins to slump.
No matter how quickly you think you can move to put an impression coping in place and take the impression the changes are significant enough to mean the lab has to sculpt their soft tissue model. This sculpting is a guess and after the hard work that goes into a custom provisional guessing is counterproductive. The implant provisional has a second job and that is to allow you to create an exact replica of that emergence profile on a custom implant impression coping.
 The steps in fabrication of a custom impression coping are quick and simple and insure optimal esthetic results.
- Remove implant provisional and inject Mach II die silicone to create a silicone plug to help hold tissue shape.
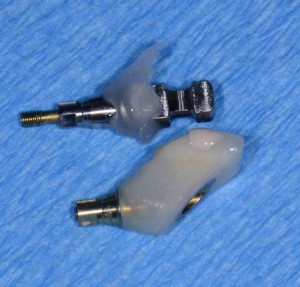
- Screw Implant provisional onto an analog.
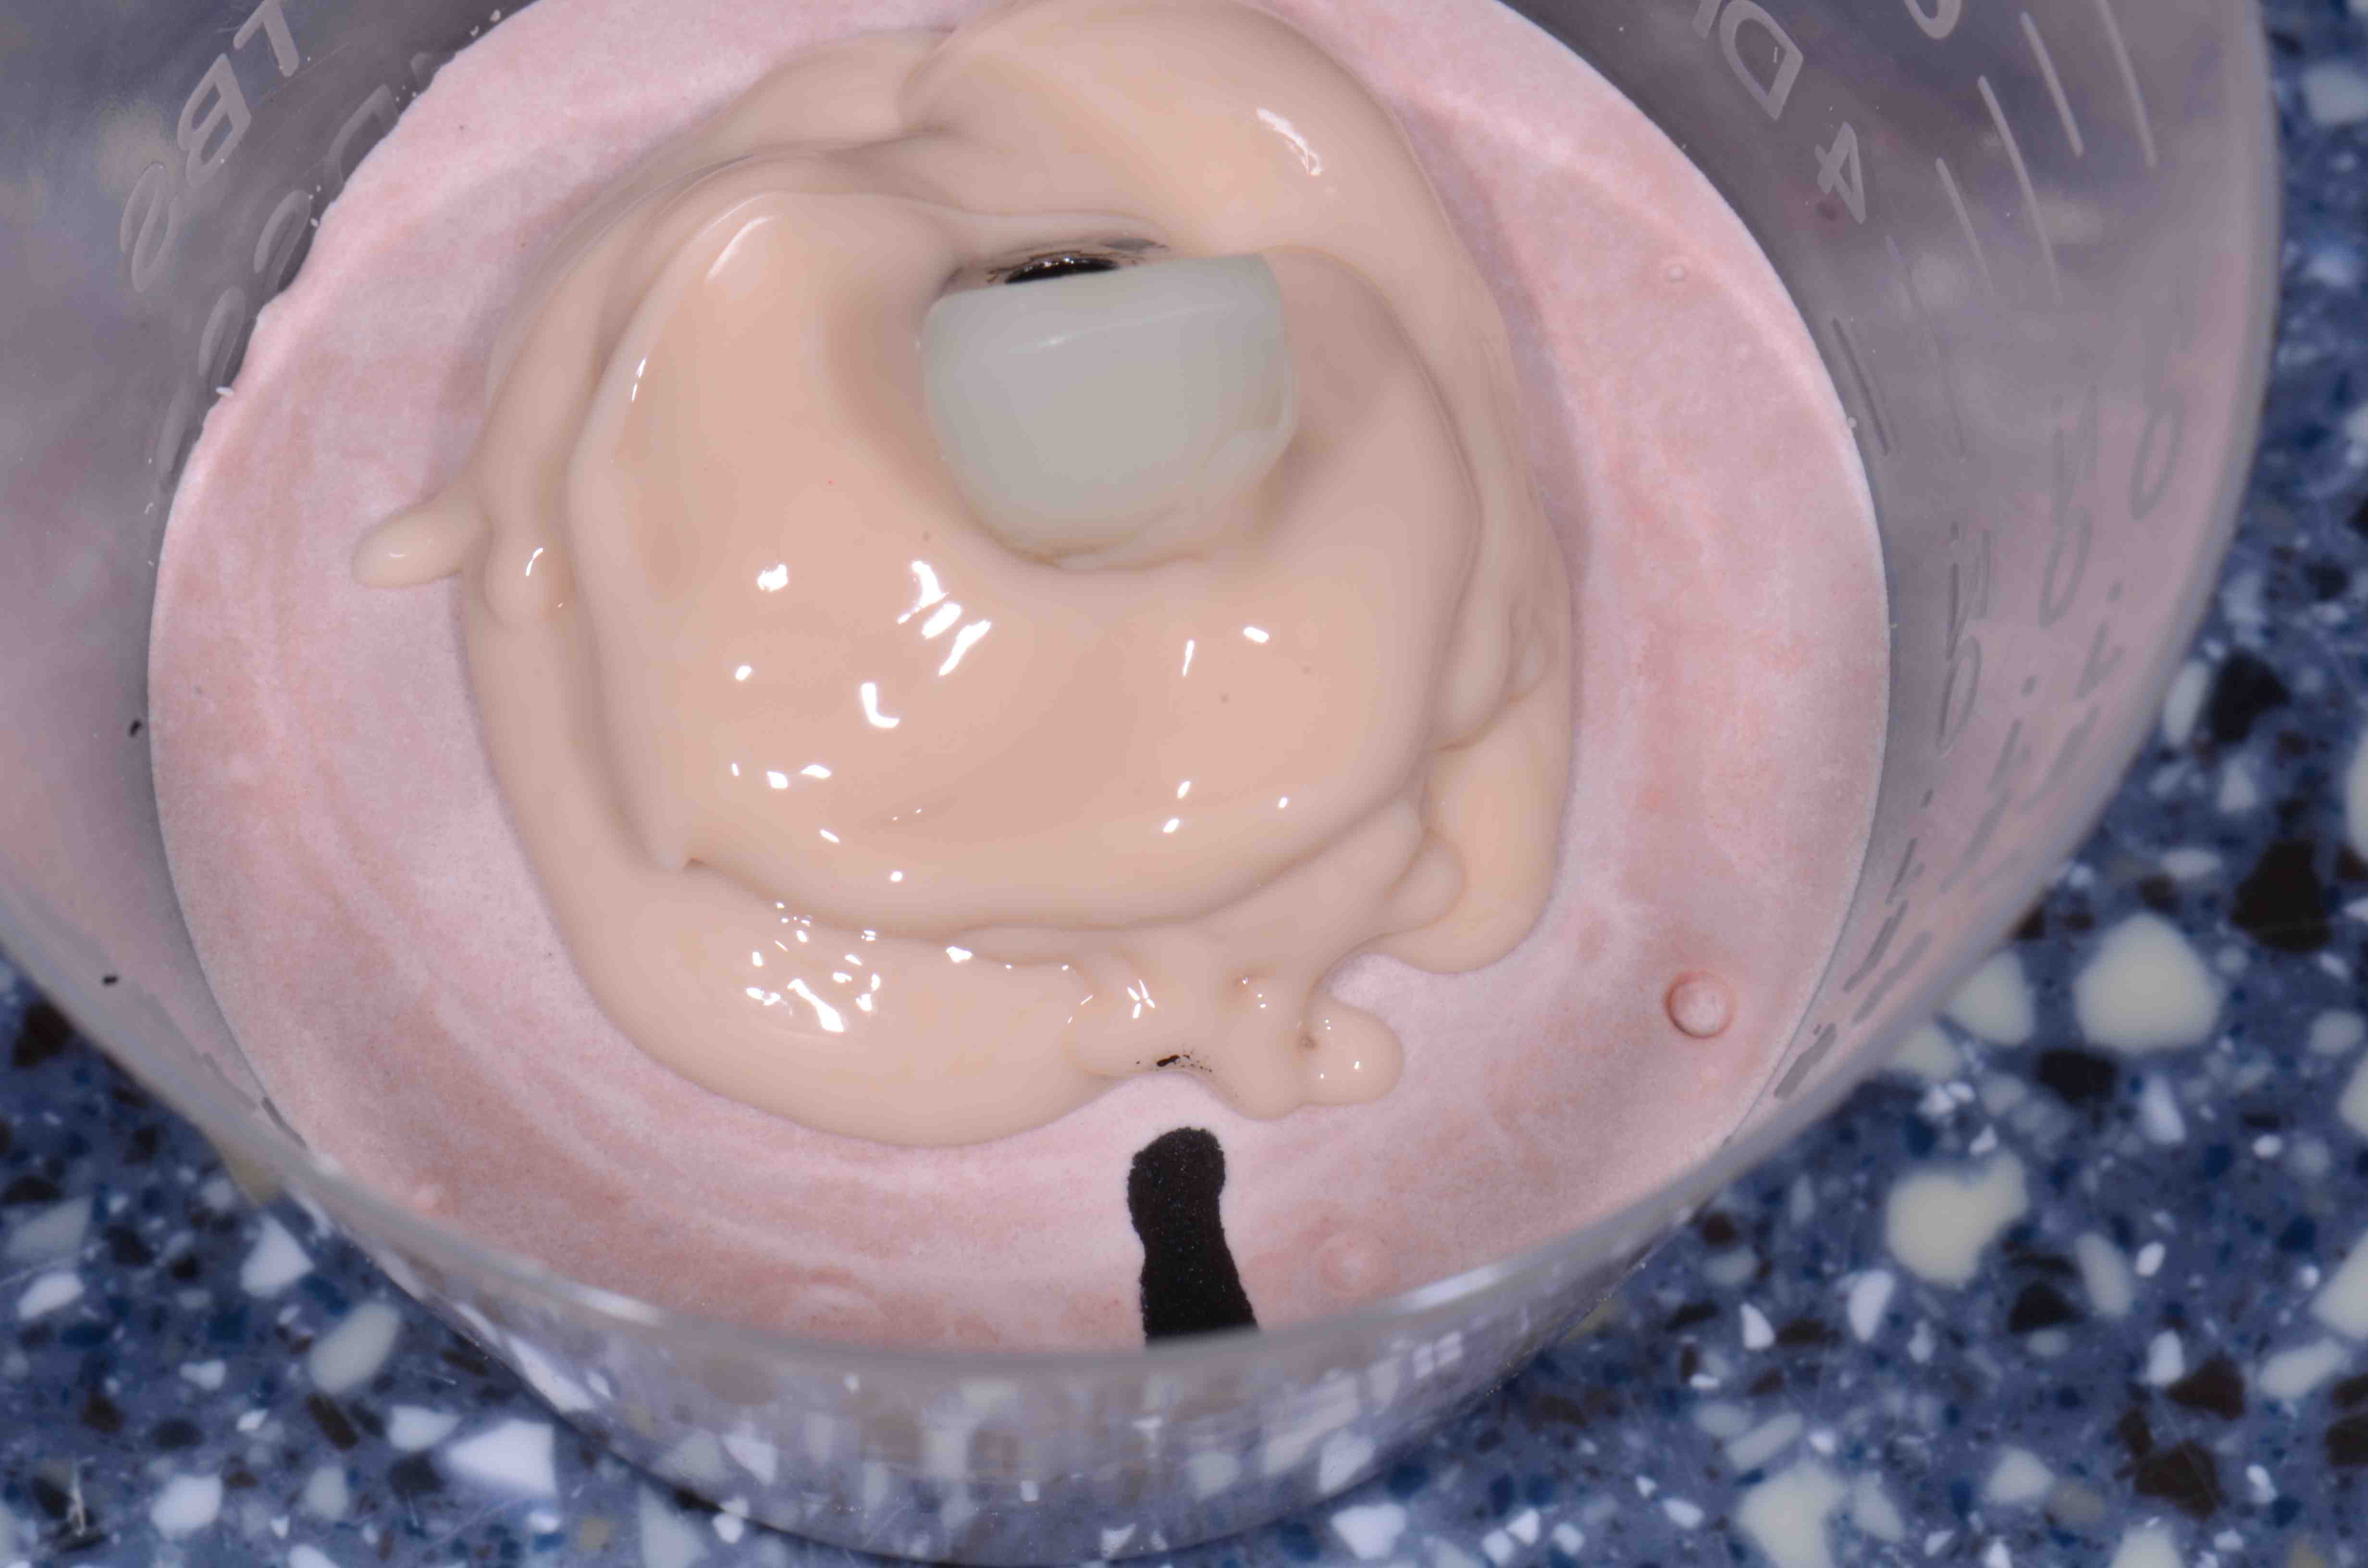
- Mix snap set stone and fill a medicine cup to about 1/4 inch and place analog/provisional into stone and allow to set for 4 minutes.
- Inject Mach II die silicone onto the snap set stone and around the remainder of the exposed analog and several millimeters up onto the provisional to capture emergence profile. Allow to set for 45 seconds.
- Mark the facial with a sharpie marker on stone and outside of cup.
- Unscrew provisional and replace with an impression coping.
- Inject flowable composite around the impression coping into the Mach II soft tissue impression, and cure fully.
- Unscrew the custom impression coping, wipe with alcohol to remove any air inhibited layer and place in Chlorhexidine.
- Remove Mach II plug from fixture with explorer and seat custom impression coping.

 The final impression, customized impression coping, and the medicine cup impression are all sent to the lab for use to fabricate the final abutment and crown. This is a variation on a technique I learned years ago from Frank Spear. Thanks go to Pete S. at Gold Dust Dental Lab for the idea of filling the medicine cup with a combination of stone and silicone and to Luke M from Gold Dust Dental Lab for the addition of marking the facial with a sharpie!
This procedure has moved to the top of my to do list. Thanks
Love this method! I have not done it this way in many years but will keep this tip in my back pocket! Also allows for the lab to verify on your medicine cup model the exact shape kind of like a solid soft tissue model!